Before cleaning your concrete driveway, assess it for cracks, stains, and areas needing special attention. Always check the weather and wear protective gear. You’ll want a dry, overcast day for this task.
Start by sweeping away loose debris. For stains like oil, grease, or mildew, pick the right cleanser to match. A stiff brush and pressure washer are your go-to tools for a thorough clean. Don’t forget to rinse well to remove all residue.
Assessing Your Driveway
Before starting the cleaning job, thoroughly assess your driveway’s condition to identify any cracks, stains, or areas requiring special attention. Driveway damage can significantly impact the effectiveness of your cleaning efforts.
Start by inspecting the concrete for any visible cracks or potholes. These imperfections not only detract from your driveway’s appearance but could also worsen over time, especially if water seeps in and freezes, causing further expansion.
Weather considerations are equally important during your assessment. Concrete driveways are exposed to various weather conditions that can affect their integrity and appearance.
For instance, areas with heavy rain or snowfall might experience more wear and tear, including erosion or salt damage. These weather-related factors can influence the type of cleaning approach you’ll need to take.
Also, look for stains caused by oil, grease, or mildew, as these may require specialized cleaning solutions.
Identifying these issues beforehand allows you to tailor your cleaning strategy effectively, ensuring a more efficient and thorough cleaning process.
Pre-Cleaning Preparation
Gathering the right tools and materials is the first step in effectively cleaning your concrete driveway.
Before beginning, check the weather conditions. Aim for a dry, overcast day to avoid the quick evaporation of cleaning solutions and the risk of them leaving residue or not being as effective due to direct sunlight or rain.
This will ensure that the cleansers have ample time to work on the stains without interference from the elements.
Next, prioritize your safety by donning the appropriate protective gear. Concrete cleaning can involve chemicals that might be harmful if they come into contact with your skin or eyes.
So, to protect yourself, wear gloves, goggles, and long sleeves. Additionally, consider wearing a mask if you’re using strong chemical cleansers to avoid inhaling fumes.
Ensure all the necessary equipment, such as a broom, pressure washer, scrub brushes, and buckets, is in good working condition and readily available.
Choosing the Right Cleansers
Your choice of cleansers should hinge on effectiveness, environmental impact, and ease of storage. For starters, consider the nature of the stains.
Oil and grease demand a degreaser with a robust formula, while organic stains like mold or mildew are best tackled with a cleanser that has bleaching properties.
However, the potency of a cleanser isn’t the only factor. You must also weigh its environmental impact. Biodegradable and eco-friendly options are available that do the job without harming your garden or local groundwater.
Cleansers come in various forms—liquid, powder, or concentrate. Liquids might be ready to use but take up more space and can be prone to spilling.
Powders and concentrates, while more storage-efficient, require proper handling to avoid inhalation or contact hazards.
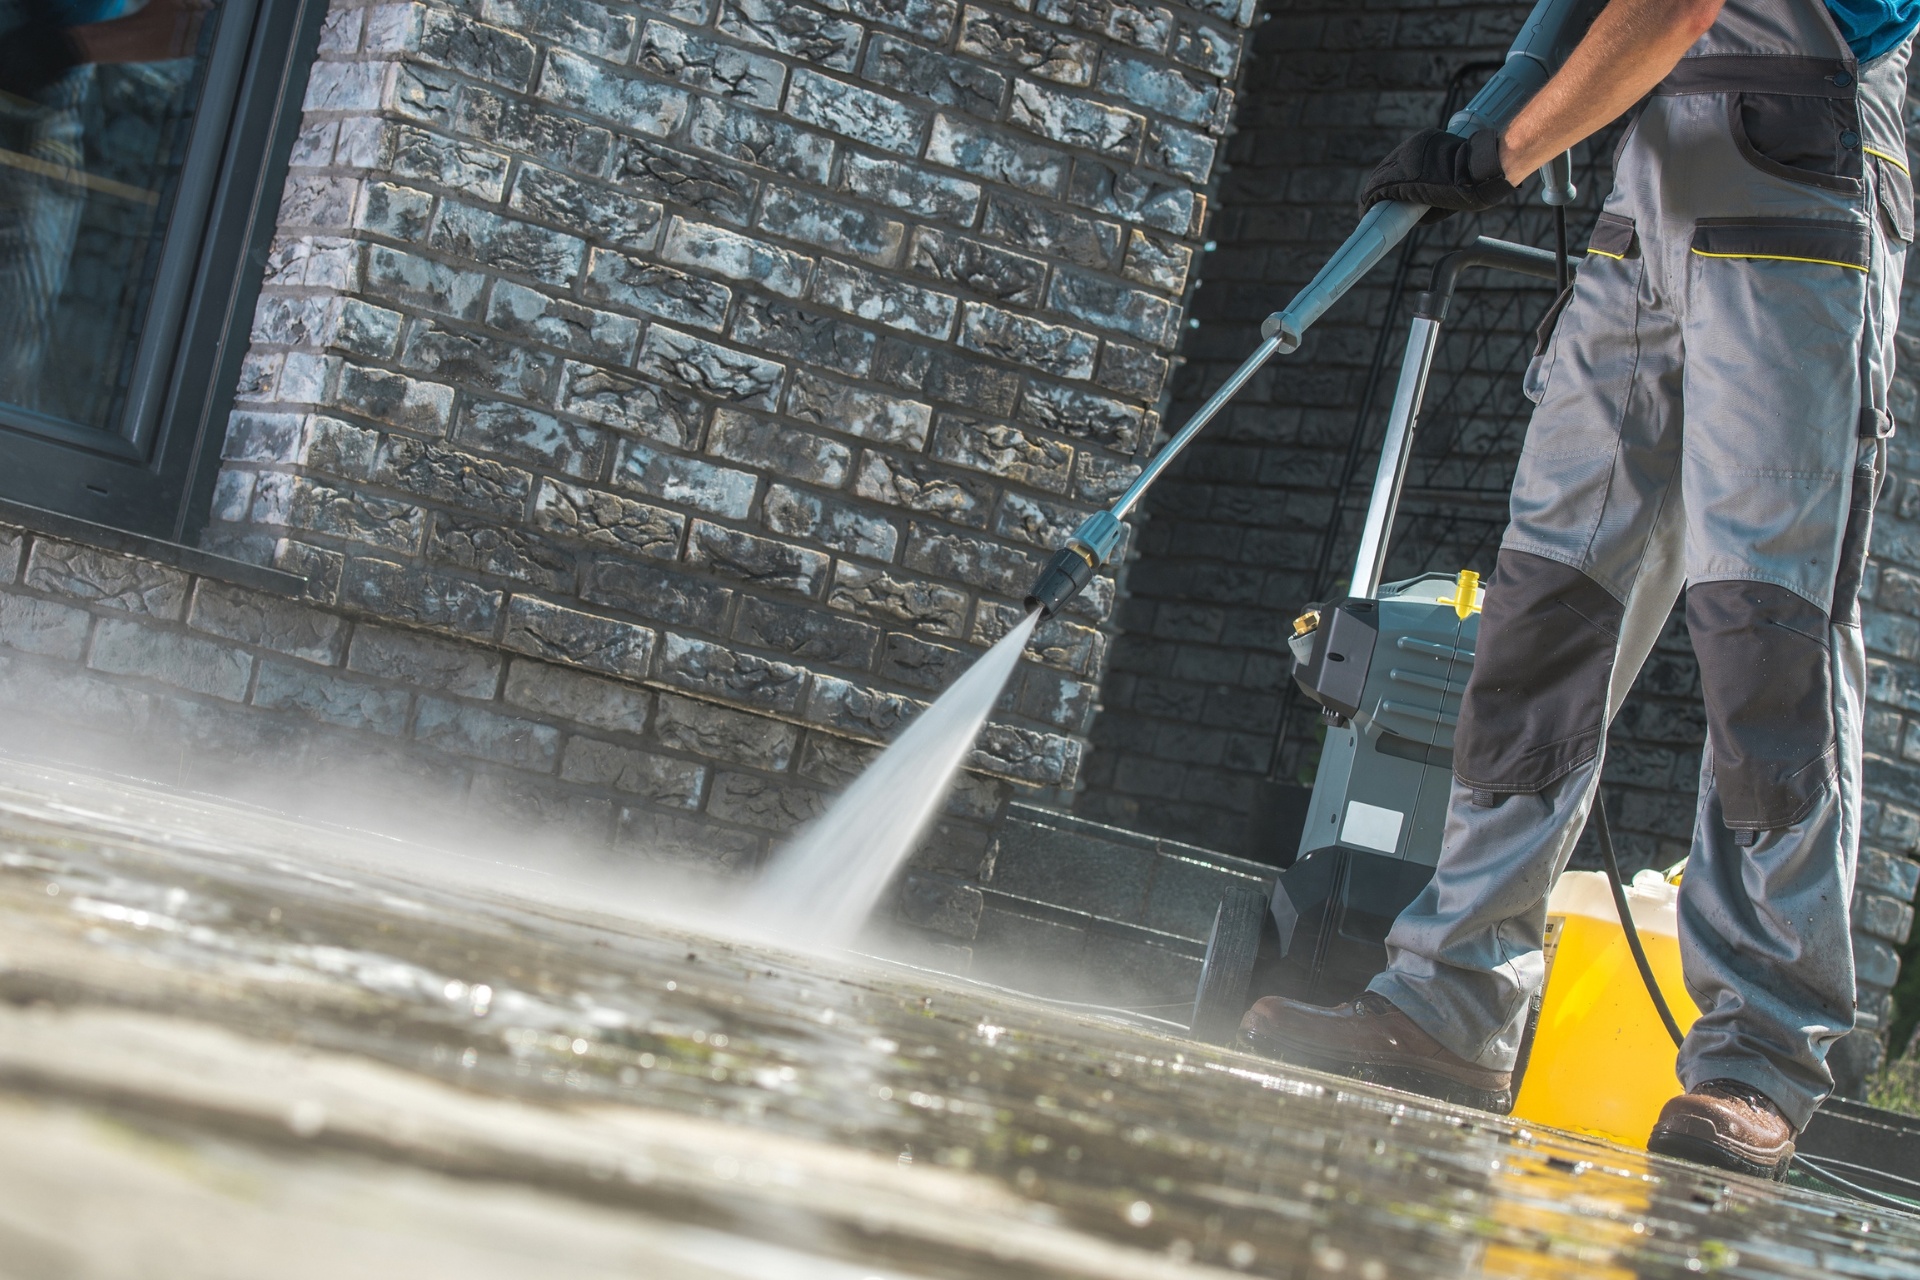
Step-by-Step Cleaning Process
Begin by sweeping or blowing away any loose debris and dirt. It’s essential to start with a clean surface to ensure the effectiveness of the cleansing process.
Next, tackle any visible stains. Apply a stain remover specifically designed for concrete, following the manufacturer’s instructions. For oil or grease stains, a degreaser works best.
Allow the stain remover to sit for the recommended time before scrubbing vigorously with a stiff brush. This step is vital for breaking up the stain particles embedded in the concrete pores.
After addressing stains, it’s time for pressure washing. Set up your pressure washer according to the manufacturer’s instructions.
Using a fan tip, methodically move across the driveway, maintaining a consistent distance from the surface to avoid etching the concrete.
Pressure washing not only removes the remaining dirt and grime but also rinses away the loosened stain particles, revealing a cleaner surface.
Rinse the driveway thoroughly with clean water from the pressure washer, ensuring no cleanser residue remains. This final rinse is key for preventing any potential damage or discoloration from leftover cleansing agents.
Maintaining Your Driveway
After your driveway is sparkling clean, it’s important to focus on regular maintenance to keep it in top condition.
A key step in preserving your concrete’s integrity is the application of a high-quality sealant. This protective layer wards off stains, reduces water absorption, and prevents freeze-thaw damage.
Ideally, you should reapply sealant every two or three years, but always follow the manufacturer’s recommendations for the best results.
Crack repair is another aspect of maintenance you can’t afford to overlook. Small cracks can quickly become major issues if water seeps in and freezes, causing the concrete to expand and the crack to widen.
At the first sign of a crack, clean it out thoroughly, removing any debris or vegetation. Then, use a concrete crack filler designed for outdoor use to seal it up.
This proactive approach not only extends the life of your driveway but also maintains its aesthetic appeal.